Here's a summary of what Custom Printer Setup does: First, the program prints two (single-sided) pages and asks you a question about how they printed. Next, you're instructed on how to reinsert the printout and begin printing the second pass. Afterward, you're again asked to report on what the printout looks like.
To use the Custom Printer Setup Wizard follow these steps:
| 1. | Make sure the printer you wish to setup is ready to print (turned on, online, paper loaded, etc.) |
| 2. | Open ClickBook then go to File> Printer Setup. |
| 3. | Choose your printer model from the Printer list. Doing so, will enable Setup radio button. |
| 4. | When you're ready to start press the Setup... button. |
| 5. | The Custom Printer Setup Wizard - Overview dialog appears. Follow the instructions presented on the screen. |
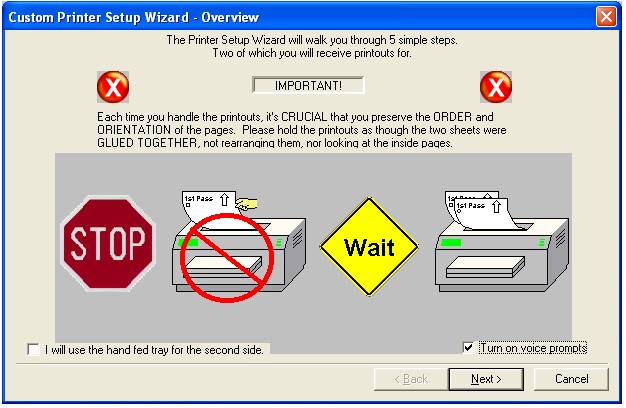
| 6. | If you want to use a hand fed tray for the second side printing pass please mark the check box next to "I will use the hand fed tray for the second side." |
| 7. | Please repeat steps 1 through 5 to setup a second, third or fourth printer. |
![]()
(NOTE: It is very important that you follow the instructions carefully to ensure proper setup of your printer.)
There are 2 common mistakes made when using the Custom Printer Setup:
1- Not keeping the pages together preserving the page order
2- On Step #5, not finding the side printed with the arrow, then comparing the printouts.