The installation setup program for Windows is called ClickBookMMXSetup.exe. You must run the setup program to install ClickBook to your hard disk. So that you know what to expect, here's a summary of what the setup program does:
| • | Copies the ClickBook System files to your hard disk. |
| • | Creates a ClickBook program group and icons. |
| • | Once it's finished installing ClickBook launches the Printer Setup. The Printer Setup dialog box will open and you will set up the printer(s) you want to use with ClickBook. ClickBook will automatically configure duplexing printers and printers in the ClickBook database. If ClickBook does not setup your printer automatically you can setup your printer using the Custom Printer Setup Wizard. See "Setting Up an Custom Printer Setup". |
| • | At the end of the installation process ClickBook presents you with the option to view the README.RTF, Make ClickBook the Default Printer, and install the Microsoft Office Macros. We recommend looking the README file over because it contains more information about ClickBook, and the changes that have taken place from previous versions. ClickBook's online help file provides you with detailed instructions to print the README.RTF as a booklet. Setting ClickBook as the default printer is not necessary. Installing the Microsoft Office Macro is optional. |
| • | When you first start the ClickBook program the InstantX registration dialog box will appear. To fully register your copy of ClickBook please fill out the form, and send it electronically, or print the form and mail it back to Blue Squirrel. If you don't register ClickBook the InstantX dialog box will pop up each time you run the program. Once you have registered, you'll see your License Key code in the About ClickBook box. |
Places a customized Print Using ClickBook command into a menu of your application program. This feature is available for several leading application programs.
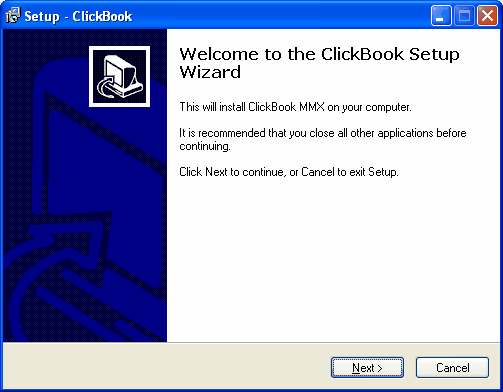
To Run the Setup Program:
| 1. | If you have ClickBook on a CD insert the CD into an appropriate drive. Or if your copy of ClickBook is a zipped (*.ZIP) or self-extracting executable (*.EXE) file, copy it into an empty folder. Double-click or use a zip manager to expand the file. You can obtain a copy of the self-extracting executable from our Web site, http://www.bluesquirrel.com/download/ClickBookMMXSetup.exe.. |
| 2. | If you have the Blue Squirrel Sampler CD, its AutoStart function will load the CD and present you with an opening screen. To start the installation process, click on the picture of the ClickBook box. |
| 3. | If you have the ClickBook program in another format, click the Windows Start button, choose Settings, and the Control Panel. Double-click Add/Remove Programs. On the Install/Uninstall page, choose Install, and then Next. Use the Browse button to navigate to the folder into which you copied or expanded your ClickBook files and click Finish. |
| 4. | Follow the prompts on the next screens of the Install Wizard. |
When the Setup program is completed, you will need to setup a ClickBook Printer, setup your printer(s), enter registration information, and then you're ready to print with ClickBook.
System Requirements
| • | Pentium or faster machine |
| • | 256+ MB of RAM |
| • | 14 MB of free disk space |
| • | Laser or InkJet printer |